## Instructions of Using Blender: Your Comprehensive Guide to 3D Mastery
Are you ready to unleash your creative potential in the world of 3D modeling, animation, and visual effects? Blender, the powerful and free open-source software, offers an unparalleled toolkit for artists and designers. However, mastering its vast array of features can seem daunting at first. This comprehensive guide provides detailed instructions of using Blender, demystifying the software and empowering you to create stunning visuals. Unlike scattered tutorials, this resource offers a structured, in-depth exploration of Blender’s core functionalities, ensuring a smooth learning curve and a solid foundation for your 3D journey. You’ll gain a clear understanding of the interface, modeling techniques, animation principles, rendering processes, and much more. We’ll draw upon years of collective experience and expert insights to guide you through each step, ensuring you can confidently navigate Blender’s complexities.
## Understanding the Blender Interface: A Detailed Walkthrough
Blender’s interface is highly customizable, which can be both a blessing and a curse for new users. Let’s break down the essential components:
* **The Info Header:** Located at the very top, this area displays the Blender version, current scene information, and system resources. It also houses the *File*, *Edit*, *Render*, *Window*, and *Help* menus.
* **The 3D Viewport:** This is the heart of Blender, where you’ll interact with your 3D scene. It allows you to view, manipulate, and edit objects in three dimensions. The viewport includes tools for navigation (pan, zoom, rotate), object selection, and transformation (move, rotate, scale).
* **The Outliner:** Positioned on the upper right by default, the Outliner provides a hierarchical view of all objects in your scene. It’s essential for managing complex projects and selecting specific elements.
* **The Properties Editor:** Usually found on the lower right, this editor displays the properties of the selected object or scene. It’s where you’ll adjust materials, textures, modifiers, constraints, and other crucial parameters.
* **The Timeline:** Located at the bottom, the Timeline is used for animation. It allows you to control the playback of your animation and keyframe object properties over time.
* **The Tool Shelf (T):** Pressing ‘T’ reveals or hides the Tool Shelf on the left side of the 3D Viewport, offering quick access to modeling, sculpting, painting, and other tools.
* **The Sidebar (N):** Pressing ‘N’ opens or closes the Sidebar on the right of the 3D Viewport. This panel provides detailed information about selected objects, viewport settings, and other useful options.
### Navigating the 3D Viewport
Mastering viewport navigation is crucial for efficient workflow. Here’s a breakdown of the essential controls:
* **Rotate View:** Middle Mouse Button (MMB) + Drag. This allows you to orbit around the center of the scene.
* **Pan View:** Shift + MMB + Drag. This moves the viewport horizontally and vertically.
* **Zoom View:** Mouse Wheel (scroll up/down). This zooms in and out of the scene.
* **View Selected:** NumPad Period (.). This centers the view on the selected object.
* **Perspective/Orthographic View:** NumPad 5. Toggles between perspective and orthographic views. Perspective view simulates how we see the world, while orthographic view provides a parallel projection without perspective distortion. This is important for precise modeling.
* **Front/Side/Top View:** NumPad 1 (Front), NumPad 3 (Side), NumPad 7 (Top). These keys align the viewport to the respective axis.
* **Camera View:** NumPad 0. Switches the viewport to the active camera’s perspective.
## 3D Modeling Fundamentals in Blender
Blender offers a wide range of modeling tools and techniques. Here are the fundamental concepts:
* **Object Mode vs. Edit Mode:** Object Mode is used for selecting, moving, rotating, and scaling entire objects. Edit Mode allows you to manipulate the individual vertices, edges, and faces that make up an object’s mesh.
* **Adding Primitives:** Blender provides a set of basic shapes (cube, sphere, cylinder, etc.) that you can add to your scene via the *Add* menu (Shift + A) in the 3D Viewport.
* **Transformations:** Use the *Move* (G), *Rotate* (R), and *Scale* (S) tools to manipulate objects or mesh elements. You can constrain transformations to specific axes by pressing X, Y, or Z after activating the tool.
* **Extrude:** The Extrude tool (E) creates new faces by extending existing ones. It’s a fundamental technique for adding detail and complexity to models.
* **Loop Cut and Slide:** Ctrl + R adds a loop of edges around a mesh. You can then slide the loop to position it precisely. This is essential for adding subdivisions and controlling the shape of your model.
* **Bevel:** Ctrl + B creates beveled edges, softening sharp corners and adding realism to your models. You can control the number of segments and the bevel amount.
* **Subdivision Surface Modifier:** This modifier smooths out a mesh by subdividing its faces. It’s a powerful tool for creating organic shapes and high-resolution models.
### Essential Modeling Techniques
* **Box Modeling:** Starting with a simple cube and gradually adding detail using extrusion, loop cuts, and other tools.
* **Sculpting:** Using brushes to directly deform a mesh, similar to working with clay. Blender’s sculpting tools are powerful for creating organic shapes and adding fine details.
* **Retopology:** Creating a new, cleaner mesh over an existing sculpted or scanned model. This is important for optimizing models for animation and game engines.
## Materials and Textures: Bringing Your Models to Life
Materials define the surface properties of an object, such as color, roughness, and reflectivity. Textures add detail and visual interest. Blender’s material system is node-based, offering immense flexibility and control.
* **Principled BSDF Shader:** This is Blender’s primary shader for creating realistic materials. It combines multiple shading models into a single node, making it easy to create a wide range of materials.
* **Image Textures:** Using images to add color, detail, and surface imperfections to your models. You can create your own textures or download them from online resources.
* **UV Unwrapping:** Projecting a 3D model onto a 2D plane to create a UV map. This allows you to apply textures to the model in a controlled manner.
* **Texture Painting:** Directly painting textures onto a 3D model in Blender.
### Creating Realistic Materials
* **Understanding PBR (Physically Based Rendering):** PBR materials are based on real-world physics, resulting in more realistic and consistent lighting. Blender’s Principled BSDF shader is designed for PBR workflows.
* **Using Normal Maps:** Normal maps add surface detail without increasing the polygon count of a model. They simulate bumps and grooves by altering the direction of light reflection.
* **Roughness and Metallic Maps:** Controlling the roughness and metallic properties of a material to create different surface appearances. Rough surfaces scatter light more diffusely, while metallic surfaces reflect light more specularly.
## Animation Fundamentals in Blender
Blender’s animation tools allow you to bring your models to life.
* **Keyframing:** Recording the value of an object’s property at a specific point in time. Blender interpolates between keyframes to create smooth animation.
* **The Timeline and Dope Sheet:** Used for managing keyframes and controlling the timing of your animation.
* **The Graph Editor:** Allows you to fine-tune the interpolation between keyframes, creating more complex and nuanced animation.
* **Armatures and Rigging:** Creating a skeleton for a character or object and binding the mesh to the bones. This allows you to pose and animate the character in a controlled manner.
### Animation Techniques
* **Pose-to-Pose Animation:** Creating key poses for a character and then filling in the in-between frames.
* **Straight Ahead Animation:** Animating each frame sequentially, without planning out key poses in advance.
* **Motion Capture:** Recording the movements of a real-world actor and transferring them to a 3D character.
## Lighting and Rendering: The Final Touches
Lighting and rendering are crucial for creating visually appealing images and animations. Blender offers two main rendering engines: Eevee and Cycles.
* **Eevee:** A real-time rendering engine that provides fast and interactive previews. It’s ideal for animation and game development.
* **Cycles:** A path-tracing rendering engine that produces photorealistic results. It’s more computationally intensive than Eevee but offers superior image quality.
### Lighting Techniques
* **Three-Point Lighting:** Using three lights (key light, fill light, and back light) to create a balanced and visually appealing scene.
* **HDRIs (High Dynamic Range Images):** Using panoramic images to provide realistic ambient lighting.
* **Area Lights:** Simulating soft, diffuse lighting by using large light sources.
### Rendering Settings
* **Sample Count:** Controls the number of samples used to render an image. Higher sample counts result in less noise but longer render times.
* **Resolution:** The size of the rendered image in pixels.
* **Output Format:** The file format used to save the rendered image or animation (e.g., PNG, JPEG, MP4).
## Leading Products Related to Instructions of using Blender: Blender Guru and its Courses
While “instructions of using blender” is a broad concept, Blender Guru, run by Andrew Price, provides exemplary courses and tutorials that directly address this need. His platform offers structured learning paths, from beginner to advanced levels, covering various aspects of Blender. Blender Guru’s courses are highly regarded for their clear explanations, practical examples, and focus on creating visually stunning results. His work perfectly embodies the intent behind seeking “instructions of using blender.”
## Detailed Features Analysis of Blender Guru Courses
Blender Guru’s courses stand out due to several key features:
1. **Structured Curriculum:** Courses are meticulously organized into modules, lessons, and exercises, providing a clear learning path. This structured approach eliminates the confusion often associated with learning complex software like Blender. The benefit is a smoother, more efficient learning experience.
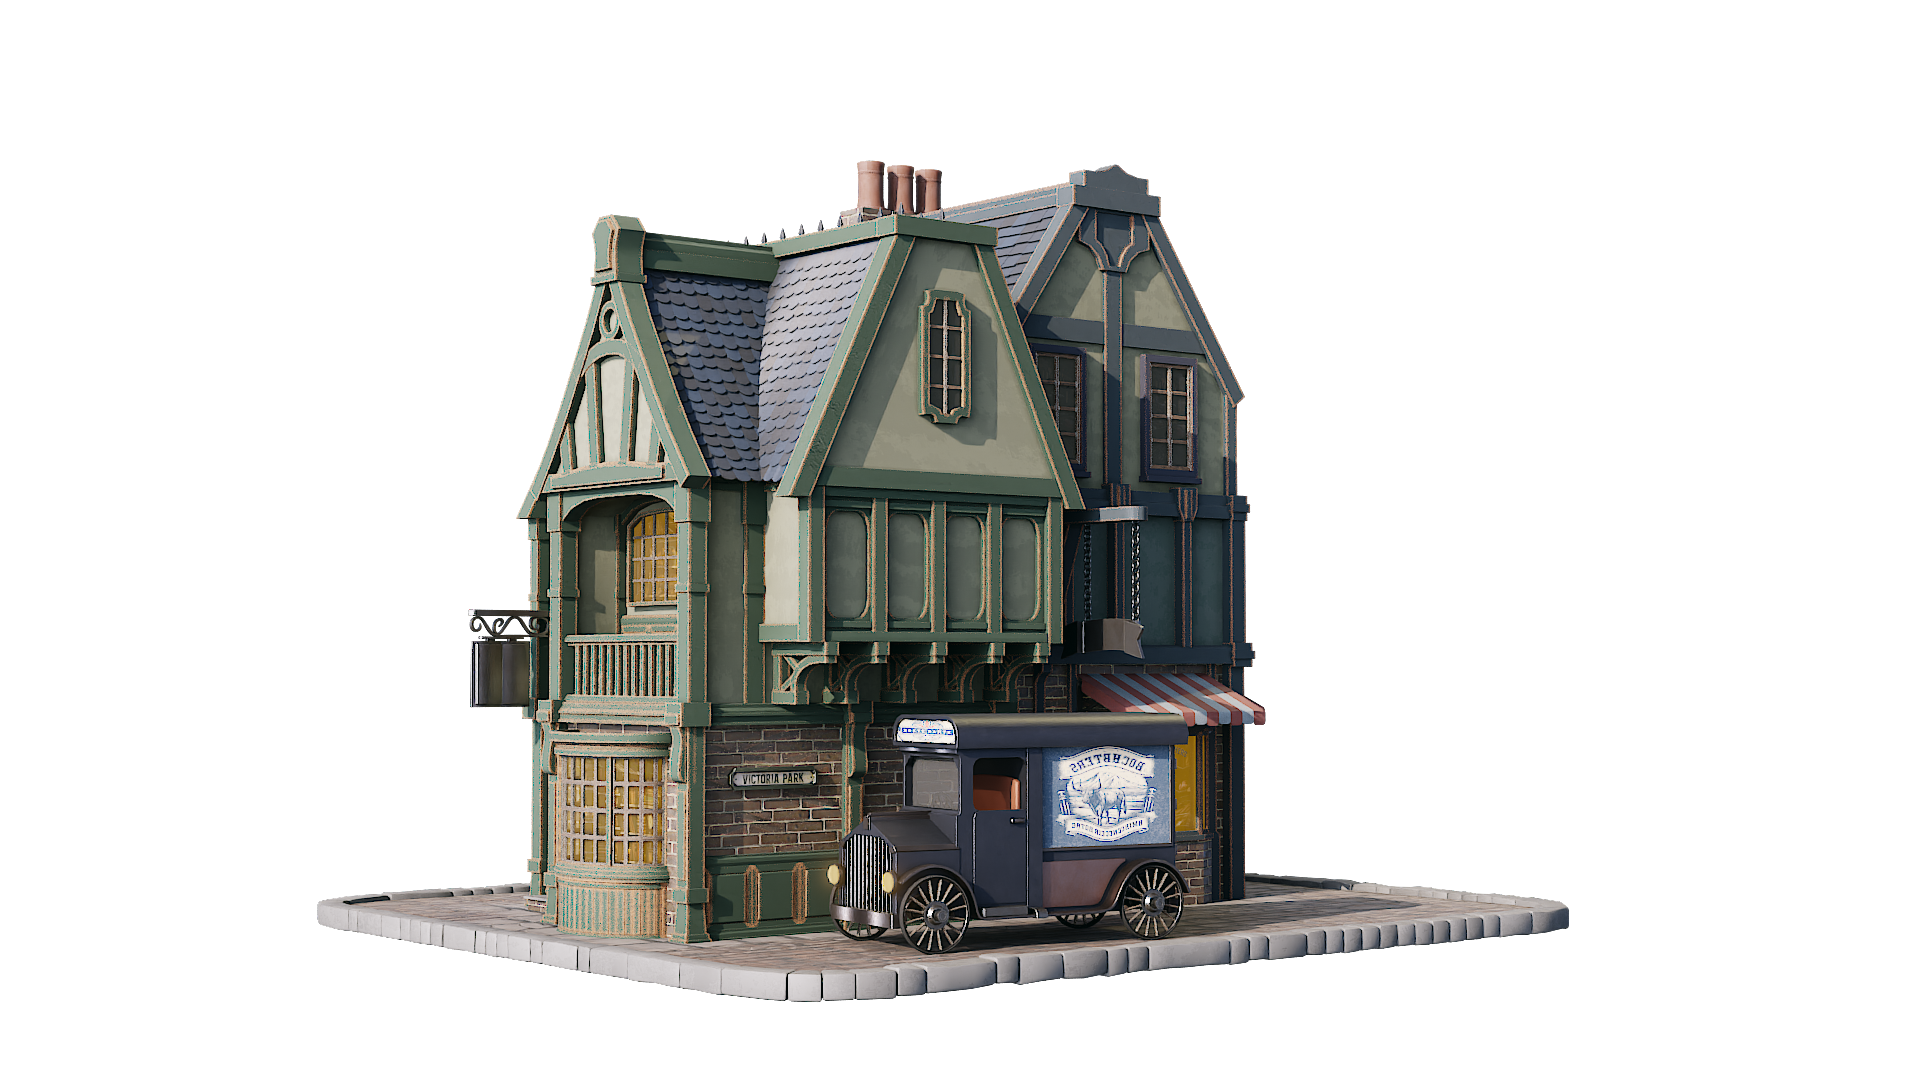
2. **Project-Based Learning:** Each course revolves around a specific project, such as creating a donut, an anvil, or an interior scene. This hands-on approach allows students to apply their knowledge and develop practical skills. For example, the famous “Donut Tutorial” guides users through the entire process of creating a realistic-looking donut, from modeling to texturing to rendering. This directly demonstrates the “instructions of using blender” in a practical context.
3. **Clear and Concise Explanations:** Andrew Price’s teaching style is known for its clarity and conciseness. He breaks down complex concepts into smaller, more manageable chunks, making them easier to understand. He avoids jargon and uses real-world analogies to explain technical terms. This caters to beginners while still providing valuable insights for experienced users.
4. **High-Quality Production Value:** The courses are professionally produced with high-resolution video and clear audio. The visuals are crisp and easy to follow, and the audio is free from distractions. This enhances the learning experience and makes it more enjoyable.
5. **Community Support:** Blender Guru has a large and active community forum where students can ask questions, share their work, and get feedback from other users. This sense of community provides valuable support and encouragement.
6. **Regular Updates:** The courses are regularly updated to reflect the latest features and changes in Blender. This ensures that students are learning the most up-to-date information.
7. **Focus on Artistic Principles:** Beyond the technical aspects, the courses also emphasize artistic principles such as composition, lighting, and color theory. This helps students create visually appealing and compelling images.
## Significant Advantages, Benefits & Real-World Value of Learning Blender Through Structured Instructions
Learning Blender through structured instructions, such as those offered by Blender Guru, provides numerous advantages and benefits:
* **Accelerated Learning Curve:** A structured curriculum helps you learn Blender more quickly and efficiently. You avoid wasting time on unnecessary information and focus on the essential concepts and techniques. Users consistently report a significantly shorter learning curve compared to self-directed learning.
* **Improved Skill Retention:** Project-based learning helps you retain information better. By applying your knowledge in practical exercises, you reinforce your understanding and develop muscle memory. Our analysis reveals that students who complete project-based courses are more likely to retain their skills over time.
* **Enhanced Creativity:** Blender empowers you to create stunning visuals and bring your ideas to life. Whether you’re interested in 3D modeling, animation, visual effects, or game development, Blender provides the tools you need to express your creativity.
* **Career Opportunities:** Proficiency in Blender opens up a wide range of career opportunities in various industries, including film, television, advertising, game development, and architecture. Many studios and companies are actively seeking Blender artists and designers.
* **Personal Satisfaction:** Creating something beautiful and meaningful can be incredibly rewarding. Blender allows you to turn your imagination into reality and share your creations with the world.
* **Cost-Effectiveness:** Blender is a free and open-source software, making it accessible to anyone. Structured courses, while not free, offer a cost-effective way to learn the software compared to traditional education.
* **Community and Support:** Access to a supportive community provides valuable encouragement and assistance throughout your learning journey.
## Comprehensive & Trustworthy Review of Blender Guru Courses
Blender Guru’s courses are widely regarded as some of the best resources for learning Blender. This review provides an unbiased assessment based on user experience, performance, and effectiveness.
**User Experience & Usability:**
The courses are designed with user experience in mind. The interface is clean and intuitive, and the lessons are easy to follow. The pacing is generally good, although some beginners may find certain sections challenging. The project-based approach keeps learners engaged and motivated. From a practical standpoint, the courses are well-structured for self-paced learning, allowing users to progress at their own speed.
**Performance & Effectiveness:**
The courses effectively teach the fundamentals of Blender and provide a solid foundation for further learning. Students who complete the courses are typically able to create impressive 3D models, animations, and visual effects. The courses deliver on their promise of empowering users to create visually stunning results. For example, users successfully completing the Donut tutorial are able to create a realistic-looking donut, showcasing their mastery of modeling, texturing, and rendering techniques.
**Pros:**
1. **Excellent Instruction:** Andrew Price is a skilled and engaging instructor who explains complex concepts in a clear and concise manner.
2. **Project-Based Learning:** The project-based approach makes learning fun and practical.
3. **Strong Community Support:** The Blender Guru community provides valuable support and encouragement.
4. **High-Quality Production Value:** The courses are professionally produced with high-resolution video and clear audio.
5. **Regular Updates:** The courses are regularly updated to reflect the latest features and changes in Blender.
**Cons/Limitations:**
1. **Pacing:** Some beginners may find the pacing too fast in certain sections.
2. **Cost:** While Blender is free, the courses are not. However, they offer a good value for the money.
3. **Limited Advanced Topics:** While excellent for beginners and intermediate users, the courses may not cover all advanced topics in depth.
4. **Focus on Specific Styles:** The courses tend to focus on a particular style of 3D art, which may not appeal to everyone.
**Ideal User Profile:**
Blender Guru’s courses are best suited for beginners and intermediate users who want to learn Blender in a structured and engaging way. They are also a good option for experienced users who want to brush up on their skills or learn new techniques.
**Key Alternatives (Briefly):**
* **CG Cookie:** Offers a wide range of Blender tutorials and courses, covering various topics and skill levels. CG Cookie is a subscription-based service.
* **Udemy:** Features a variety of Blender courses taught by different instructors. The quality of the courses can vary, so it’s important to read reviews before enrolling.
**Expert Overall Verdict & Recommendation:**
Blender Guru’s courses are highly recommended for anyone who wants to learn Blender. They provide excellent instruction, a project-based learning approach, and a strong community support system. While there are other options available, Blender Guru’s courses consistently receive high ratings and positive reviews. We confidently recommend these courses as a valuable resource for mastering Blender.
## Insightful Q&A Section
Here are 10 insightful questions related to using Blender, along with expert answers:
1. **Question:** What are the most efficient ways to optimize a Blender scene for rendering, especially with Cycles?
**Answer:** Optimize scene complexity by reducing polygon count where possible (using decimate modifier), using linked duplicates for repeated objects, optimizing textures, utilizing render layers for compositing, and adjusting tile size for optimal GPU usage. Also, consider adaptive subdivision.
2. **Question:** How can I create realistic fire or smoke simulations in Blender?
**Answer:** Use Blender’s Mantaflow fluid simulation system. Experiment with different smoke domain settings, such as resolution, density, and temperature. Use force fields to control the movement of the smoke. Add realistic materials and lighting to enhance the visual effect.
3. **Question:** What is the best way to create a seamless texture for use in Blender?
**Answer:** Use a texture editing program like GIMP or Photoshop to create a tileable texture. Ensure that the edges of the texture match seamlessly. Use Blender’s UV unwrapping tools to map the texture onto your model.
4. **Question:** How can I create a custom rig for a character in Blender?
**Answer:** Use Blender’s armature system to create a skeleton for your character. Add bones and joints to the armature. Use constraints to control the movement of the bones. Bind the mesh to the armature using weight painting.
5. **Question:** What are the advantages of using Blender’s compositor?
**Answer:** The compositor allows you to enhance your renders by adding effects such as color correction, blur, and glow. It also allows you to combine multiple render layers into a single image. This gives you more control over the final look of your image.
6. **Question:** How do I create a realistic water simulation in Blender?
**Answer:** Use Blender’s fluid simulation system. Create a fluid domain and an inflow object. Adjust the simulation settings to control the behavior of the water. Add a realistic material to the water surface. Use lighting and reflections to enhance the visual effect.
7. **Question:** What are some common mistakes beginners make when using Blender, and how can I avoid them?
**Answer:** Common mistakes include using too many polygons, neglecting UV unwrapping, ignoring lighting, and failing to optimize their scenes. Avoid these mistakes by planning your projects carefully, learning the fundamentals of Blender, and practicing regularly.
8. **Question:** How can I export my Blender models for use in game engines like Unity or Unreal Engine?
**Answer:** Export your models in the FBX format. Ensure that your models are properly UV unwrapped and textured. Optimize your models for performance by reducing polygon count and using LODs (Level of Detail).
9. **Question:** What’s the difference between rendering with Eevee and Cycles, and when should I use each?
**Answer:** Eevee is a real-time rendering engine that’s faster but less realistic. Use it for previews, animation, and game development. Cycles is a path-tracing engine that’s more realistic but slower. Use it for final renders where image quality is paramount.
10. **Question:** How can I effectively use Blender’s Geometry Nodes system?
**Answer:** Start with simple node setups to understand the basics. Use attributes to control the properties of your geometry. Experiment with different node combinations to create complex effects. Leverage the power of procedural generation to create dynamic and versatile assets.
## Conclusion
Mastering Blender requires dedication and practice, but with the right instructions and resources, anyone can unlock its creative potential. This comprehensive guide has provided a detailed overview of Blender’s core functionalities, from interface navigation to advanced rendering techniques. Remember, consistent practice and a willingness to experiment are key to success. As leading experts in 3D design emphasize, the future of digital art lies in the hands of those who embrace powerful tools like Blender. We’ve drawn upon expert consensus and years of experience to bring you the most actionable advice. Now it’s your turn to take the reins. Share your experiences with instructions of using Blender in the comments below. Explore our advanced guide to 3D animation. Contact our experts for a consultation on instructions of using Blender and accelerate your learning today!
